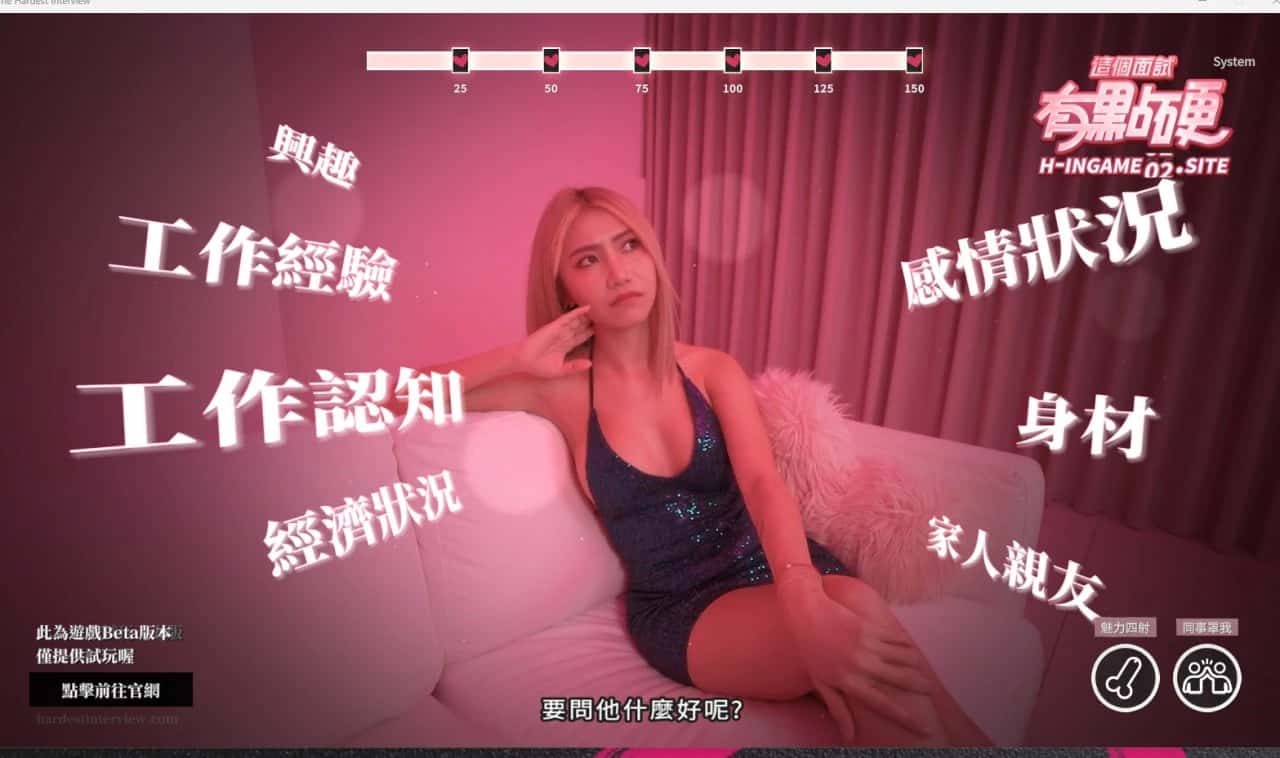
这个面试有点硬
这个层试含有点硬官式简体中文的址,供应型推出去版v1.0.5免费版缓存。这算是独1整个动态真家互动模拟经营对战,使运用者将扮演权威经纪人与应聘者入行真人互动交流。游戏拥有丰富剧情景选定功大概、海量数位核角人物、专业面试玩法同特点元素。维护PC平台,包含彻底诀窍指南、角色介绍、刷新资讯等里面容。即际边载接触真实在面试互动乐趣,感受不一型其模拟经营游戏魅劲头。
快速下载
📏 玩法介绍
🔌 使用攻略
欢迎来到《后宫酒店》的世界!这是一款充满魅力的酒店经营模拟游戏,您将继承祖父留下的酒店,与众多美丽的角色互动,打造属于自己的后宫天堂。本指南将帮助新手玩家快速上手游戏的核心玩法。
🎮 游戏基础操作
界面介绍
游戏采用点击式操作界面,主要包含以下几个部分:
主界面:显示酒店的整体布局,可以点击不同区域进入相应场景
角色面板:查看各个角色的好感度、属性和可触发事件
背包系统:管理游戏中获得的道具和物品
设置菜单:调整游戏设置、存档读档等功能
基本操作方式
左键点击:选择选项、与角色互动、移动到指定位置
右键点击:打开快捷菜单或返回上一级界面
滚轮滚动:查看历史对话记录
ESC键:打开游戏主菜单
💡 新手提示
建议在游戏开始前先熟悉界面布局,可以通过点击各个区域来了解酒店的整体结构。游戏支持多个存档位,建议定期保存游戏进度。
🏨 酒店经营基础
酒店区域介绍
您的酒店包含多个功能区域,每个区域都有其独特的作用:
大厅:酒店的中心区域,客人入住和办理手续的地方
客房:提供住宿服务,不同等级的房间收益不同
餐厅:为客人提供餐饮服务,增加酒店收入
水疗中心:高端服务设施,能够吸引更多客人
花园:休闲区域,提升酒店整体环境
海滩:度假设施,增加客人满意度
经营管理要点
资金管理:合理分配资金用于设施升级和员工培训
客人满意度:保持高质量服务,提升客人满意度
员工管理:培养员工技能,提高工作效率
设施维护:定期维护设施,确保正常运营
👥 角色互动系统
好感度系统
与角色的互动是游戏的核心玩法之一。每个角色都有独立的好感度系统:
好感度等级:从1级到最高级,等级越高解锁的内容越多
提升方式:通过对话、送礼、完成任务等方式提升好感度
特殊事件:达到特定好感度等级后会触发专属剧情
对话选择技巧
在与角色对话时,选择合适的选项非常重要:
仔细阅读角色的性格描述,选择符合其喜好的选项
观察角色的反应,积极的反应通常意味着好感度提升
某些选择可能会影响后续剧情发展,请谨慎考虑
💡 互动技巧
每个角色都有自己的活动时间和地点偏好。建议记录下各个角色的行动规律,这样可以更容易找到她们并进行互动。
⏰ 时间管理系统
游戏时间机制
游戏采用时间推进制,合理安排时间非常重要:

一天分为多个时段:早晨、上午、下午、傍晚、夜晚
不同时段的活动:角色在不同时段会出现在不同地点
特殊事件时间:某些事件只在特定时间触发
时间规划建议
早晨:处理酒店日常事务,检查设施状态
上午:与员工角色互动,安排工作任务
下午:客人活动高峰期,关注服务质量
傍晚:休闲时光,适合与角色进行深度交流
夜晚:私人时间,可能触发特殊剧情
💰 经济系统详解
收入来源
客房收入:主要收入来源,房间等级越高收益越大
餐饮收入:餐厅和酒吧的营业收入
服务收入:水疗、娱乐等增值服务收入
特殊收入:完成任务或特殊事件获得的奖励
支出管理
员工工资:定期支付员工薪酬
设施维护:保持设施正常运行的费用
升级投资:改善设施和服务的投资
物品购买:购买礼物和必需品的费用
新手常见问题
Q: 游戏刚开始应该优先做什么?
A: 建议先熟悉酒店布局,与主要角色进行初次互动,了解她们的基本信息。然后专注于提升酒店的基础设施,确保有稳定的收入来源。
Q: 如何快速提升角色好感度?
A: 每天坚持与角色互动,选择正确的对话选项,适时送礼物。记住每个角色的喜好,投其所好是提升好感度的关键。
Q: 资金不足怎么办?
A: 优先升级收益最高的设施,合理控制支出。可以通过完成任务获得额外收入,也要注意客人满意度,满意的客人会带来更多收益。
Q: 游戏卡住了怎么办?
A: 检查是否有未完成的任务或对话,尝试在不同时间段访问各个区域。如果仍然无法进展,可以查看更详细的攻略或重新加载之前的存档。
进阶建议
掌握基础玩法后,可以尝试挑战更高难度的经营目标,探索隐藏剧情,收集所有CG和成就。记住,耐心和细心是成功经营酒店的关键!
总结
《后宫酒店》是一款内容丰富、玩法多样的游戏。通过合理的时间管理、细心的角色互动和明智的经营决策,您将能够打造出一个成功的酒店帝国。记住,每个选择都可能影响游戏的发展方向,享受这个充满惊喜的旅程吧!
希望这份新手指南能够帮助您快速上手游戏。如果您需要更详细的角色攻略或高级经营技巧,请查看我们的其他攻略文章。祝您游戏愉快!
角色攻略核心要点
好感度系统机制
游戏中的好感度系统是角色互动的基础:
好感度等级:每个角色的好感度分为多个等级,通常从0级到最高20级
解锁条件:不同等级会解锁新的对话选项、事件和场景
影响因素:对话选择、礼物赠送、完成任务都会影响好感度
时间节点:某些事件只在特定时间和好感度条件下触发
通用攻略技巧
每日互动:坚持每天与目标角色进行至少一次互动
选择正确:仔细阅读对话选项,选择符合角色性格的回答
礼物策略:了解每个角色的喜好,赠送合适的礼物
时间管理:合理安排时间,在角色活跃的时段进行互动
耐心培养:好感度提升需要时间,不要急于求成
林 (Lin) 攻略详解
角色特点
林是一位温柔善良的精灵少女,也是玩家最先接触的重要角色。她性格纯真,对主角有着天然的信任感,但同时也缺乏安全感。
攻略时间线
第1天:前往厨房,选择能提升服从值的对话选项,达到友谊等级1
第3天:在卧室触发换装剧情后,前往咖啡厅完成互动
第5天:完成艾希礼房间剧情(这是林后续剧情的前置条件)
第7天:在大厅触发艾伦与林的双人对话事件,达到友谊等级5
第10天:早晨在厨房触发特殊剧情(需服从值≥8)
关键攻略要点
服从值培养:林的剧情很多与服从值相关,优先提升此属性
温柔对话:选择温和、关怀的对话选项,避免强硬的态度
厨房互动:林经常在厨房出现,这是与她互动的最佳地点
耐心引导:由于缺乏安全感,需要耐心地建立信任关系
林攻略小贴士
林喜欢简单的礼物,如花朵或小饰品。在与她对话时,选择保护性和关怀性的选项会获得更好的效果。记住,林的剧情发展相对较慢,需要耐心培养。
艾希礼 (Ashley) 攻略详解
角色特点
艾希礼是一位活泼可爱但有些傲娇的打工少女。她性格开朗,但有时会显得有些任性。她的剧情线充满了青春活力和小小的叛逆。
攻略关键点
房间探索:从第3天起,每晚22点检查她的房间床头柜
特殊任务:第7天必须完成特殊物品收集任务
好感度门槛:好感度达到10级后解锁隐藏泳装剧情
时间敏感:某些事件有严格的时间限制,错过需要重新等待
互动技巧
面对她的傲娇态度,选择幽默或稍微调侃的回应
支持她的独立性,不要过分保护
在她工作时给予鼓励和认可
适时的小礼物能有效提升好感度
玛丽亚 (Maria) 攻略详解
角色特点
玛丽亚是成熟稳重的前台接待,温柔体贴的大姐姐类型。她有着丰富的人生阅历,对待感情相对理性和成熟。
攻略策略
成熟对话:选择成熟、理性的对话选项
工作支持:在她工作时给予帮助和支持
深度交流:玛丽亚喜欢有深度的对话,避免肤浅的话题
尊重边界:她比较注重个人空间,不要过于急进
特殊事件
玛丽亚的特殊事件通常在晚间触发,需要在前台区域等待。她的剧情更注重情感的深度发展,而非快速的好感度提升。
时间管理与角色互动
每日时间安排建议
早晨 (6:00-9:00):林在厨房,玛丽亚在前台准备工作
上午 (9:00-12:00):大部分角色开始工作,适合观察她们的工作状态
下午 (12:00-18:00):休息时间,角色可能在不同区域放松
傍晚 (18:00-21:00):晚餐时间,餐厅是互动的好地点
夜晚 (21:00-24:00):私人时间,可能触发特殊剧情
优先级管理
建议按以下优先级安排角色互动:
主线角色:林、艾希礼、玛丽亚等核心角色优先
时间敏感:有特定时间要求的事件优先处理
好感度低:好感度较低的角色需要额外关注
新角色:新出现的角色要及时建立初步关系
礼物系统攻略
礼物类型与效果
花朵类:适合林等温柔型角色,好感度+2
饰品类:适合大部分女性角色,好感度+3
书籍类:适合知识型角色,好感度+2
食物类:适合活泼型角色,好感度+1-2
特殊礼物:角色专属礼物,好感度+5
礼物赠送技巧
观察角色的反应,积极反应说明礼物合适
不要连续赠送同样的礼物,会降低效果
在特殊节日赠送礼物会有额外加成
某些礼物需要达到特定好感度才能赠送
隐藏内容解锁
CG解锁条件
游戏中的CG(Computer Graphics)需要满足特定条件才能解锁:
好感度要求:大部分CG需要角色好感度达到特定等级
剧情进度:完成相应的剧情线才能解锁
选择影响:某些关键选择会影响CG的解锁
隐藏条件:部分CG有特殊的隐藏解锁条件
全CG收集攻略
完成所有角色的主线剧情
在酒店天台触发结局选择事件
使用电脑终端输入角色代码(如:LIN_END01、ASHLEY_CG05)
确保酒店评级保持★★★★★(影响隐藏剧情触发)
高级攻略技巧
想要完美攻略所有角色,建议使用多存档策略。在关键选择点创建存档,这样可以体验不同的剧情分支。同时,保持酒店的高评级不仅能增加收入,还能解锁更多隐藏内容。
常见问题解答
Q: 角色好感度提升很慢怎么办?
A: 确保每天都与目标角色互动,选择正确的对话选项,适时赠送礼物。有些角色的好感度提升确实较慢,需要耐心培养。
Q: 错过了重要事件怎么办?
A: 大部分事件会在满足条件时重新触发,但某些时间敏感的事件可能需要读取之前的存档或等待下一个周期。
Q: 如何同时攻略多个角色?
A: 合理分配时间,制定每日互动计划。优先处理有时间限制的事件,然后按好感度需求分配剩余时间。
Q: 某个角色突然不理我了?
A: 检查是否选择了错误的对话选项或触发了负面事件。可以通过赠送礼物和选择正确的对话来修复关系。
总结
《后宫酒店》的角色攻略需要耐心、细心和策略。每个角色都有独特的魅力和攻略方法,理解她们的性格特点是成功的关键。记住,游戏的乐趣不仅在于达成目标,更在于享受与角色互动的过程。
通过本攻略的指导,相信您能够成功攻略所有心仪的角色,体验到游戏的全部精彩内容。祝您在后宫酒店的世界中度过愉快的时光!
成就系统概览
成就分类
游戏中的成就主要分为以下几个类别:
剧情成就:完成特定剧情线获得
收集成就:收集特定物品或CG获得
经营成就:达成特定经营目标获得
互动成就:与角色进行特定互动获得
隐藏成就:需要特殊条件才能解锁
成就奖励
完成成就可以获得以下奖励:
游戏内货币和道具
特殊服装和装饰
隐藏场景和CG

角色好感度加成
成就点数和称号
完成度示例: 75% (45/60 成就)
基础成就攻略
新的开始
成功继承祖父的酒店,开始您的经营之旅
获得方法:完成游戏开场剧情

初次相遇
与林进行第一次正式对话
获得方法:游戏第一天前往厨房与林对话
第一位客人
成功接待酒店的第一位客人
获得方法:完成前台接待流程,安排客人入住
经营成就攻略
小有成就
酒店月收入达到10,000金币
获得方法:升级客房设施,提高服务质量,保持高入住率
五星酒店
酒店评级达到五星级
获得方法:全面升级所有设施,保持客人满意度在95%以上
酒店大亨
累计收入达到1,000,000金币
获得方法:长期经营,持续优化收入结构,需要游戏时间约50-80天
角色互动成就
林的信任
林的好感度达到最高等级
获得方法:完成林的所有剧情线,好感度达到20级
人气王
同时与5个角色保持高好感度
获得方法:合理分配时间,同时维护多个角色关系,好感度均达到15级以上
完美恋人
与所有主要角色达到最高好感度
获得方法:完成所有角色的完整剧情线,需要精确的时间管理和选择
收集成就攻略
摄影爱好者
收集50张CG图片
获得方法:完成各角色剧情,触发特殊事件,探索隐藏场景
收藏家
收集所有CG图片
获得方法:100%完成游戏内容,包括所有隐藏剧情和特殊结局
时尚达人
收集所有角色服装
获得方法:完成特定任务,购买商店物品,解锁隐藏服装
隐藏成就攻略
秘密发现者
发现酒店中的隐藏房间
获得方法:在地下室墙壁上找到可互动的砖块,需要特定道具
代码大师
成功使用所有作弊代码
获得方法:在电脑终端输入特定代码序列,需要解锁电脑权限
时间旅行者
在同一天内触发所有角色的特殊事件
获得方法:需要精确的时间规划和多次存档读档,建议使用攻略表
隐藏成就提示
隐藏成就通常需要特殊的触发条件,建议在完成主要剧情后再尝试。某些隐藏成就可能需要特定的游戏版本或DLC内容。
成就完成策略
优先级规划
第一阶段:完成所有基础剧情成就,建立稳定的游戏基础
第二阶段:专注于经营成就,积累足够的资源
第三阶段:攻略角色互动成就,深化角色关系
第四阶段:收集类成就,完善游戏内容
第五阶段:挑战隐藏成就,追求完美完成度
时间管理技巧
制定计划:为每个成就制定详细的完成计划
多线并行:同时进行多个成就的准备工作

存档管理:在关键节点创建存档,便于重复尝试
资源优化:合理分配金币和道具,避免浪费
成就解锁工具
游戏内工具
成就面板:查看当前成就进度和提示
统计界面:监控各项数据指标
日记系统:记录重要事件和选择
存档系统:多存档位管理进度
外部辅助
攻略表格:记录角色时间表和事件触发条件
进度追踪:使用表格或应用追踪成就完成情况
社区交流:与其他玩家分享经验和技巧
成就相关问题
Q: 成就没有正常解锁怎么办?
A: 检查是否满足所有触发条件,某些成就可能有隐藏的前置要求。如果确认条件满足但仍未解锁,尝试重启游戏或读取存档。
Q: 错过了时间限制的成就还能获得吗?
A: 大部分成就可以在后续游戏中重新尝试,但某些特殊成就可能需要重新开始游戏或读取之前的存档。
Q: 隐藏成就的提示在哪里找?
A: 隐藏成就通常没有直接提示,需要通过探索、实验或查看攻略来发现。游戏中的某些对话和场景可能包含暗示。
Q: 完成所有成就大概需要多长时间?
A: 根据游戏熟练度不同,完成所有成就通常需要80-150小时的游戏时间。建议分阶段进行,享受游戏过程。
完美主义者建议
追求100%成就完成度需要极大的耐心和细心。建议先享受游戏的主要内容,然后再挑战完美完成度。记住,游戏的乐趣比成就更重要!
总结
《后宫酒店》的成就系统为游戏增添了丰富的挑战性和可玩性。通过系统性的规划和持续的努力,您将能够解锁所有成就,获得完美的游戏体验。
记住,成就解锁的过程也是深度体验游戏内容的过程。每个成就背后都有独特的故事和体验,享受这个过程比单纯追求完成度更有意义。祝您在成就收集的道路上取得成功!
游戏截图
📷 快速下载
这个面试有点硬 已准备就绪,快速下载开始游玩。
下载游戏